With the development of society, aircraft, aerospace vehicles, drones are increasing, the demand for thin-walled parts is increasing.
Thin-walled parts internal hollowing, high excision rate is generally more than 90%.
Thin-walled parts require high-precision milling with heavy metal removal, but low rigidity and easy deformation reduce milling efficiency.
Milling thin-walled parts, tool and tooling methods affect surface quality, impacting accuracy and roughness requirements.
To meet accuracy and roughness, select fixtures, clamping, tooling, and cooling based on thin-wall characteristics.
Thin-walled parts process characteristics processing difficulties
Thin-walled parts with low stiffness, in the milling process, the external forces make the workpiece deformation.
Roughing, cutting force, high temperature, parts are prone to large deformation.
Workpiece deformation arises from low stiffness, internal stress release, clamping, and unloading rebound.
It is the difficulty of CNC milling precision thin-walled parts.
Common measures to improve the quality of CNC milling precision thin-walled parts
To improve rigidity, fill the workpiece with removable materials like low-melting alloys, rosin, paraffin, or plaster, then remove after machining.
Use sharper tools with larger rake and clearance angles to reduce cutting force on thin-walled parts.
Manufacture targeted special fixtures to enhance the rigidity of the weak parts.
Case parts structure
Figure 1 shows the workpiece, which is made of 7075 aluminum alloy, an aviation part with a diameter of 400 mm, thickness of 7 mm, and quantity of 60 pieces.
The outer circle diameter is larger, the thickness is thinner, belongs to the thin-walled typical workpiece.
The circumferential wall deforms easily during clamping and machining; the low-rigidity workpiece has 12 holes and 4 support lugs.
High demands for flatness and surface roughness make improper process selection result in poor accuracy, quality issues, and increased machining difficulty.
")
Gross bad three-dimensional diagram
As shown in Fig. 2, the gross bad texture is uniform, regular, no abnormal shape.
")
Technological analysis
The ring-shaped workpiece has a regular structure with uniformly distributed holes, symmetrical lugs, and evenly spaced grooves, without complex features.
The ring-shaped workpiece has a simple, regular structure with uniform shape and surface.
Material analysis. Parts material grade 7075 aluminum alloy, the main component is zinc and magnesium, is a high-strength, high hardness aluminum alloy material.
After annealing and quenching, it has good cutting performance.
precision requirements analysis. The main requirements of the plane ≤ 0.05 mm, the main plane surface roughness Ra = 1.6 μm, other roughness Ra = 3.2 μm.
Other dimensional accuracy requirements are not harsh.
Molding analysis: existing equipment (3-axis CNC mill, C6150 lathe, X6142 horizontal mill) meets processing needs.
The ring-shaped workpiece can be machined by turning and milling, using a horizontal mill for 12 holes and lathe plus machining center for precision and shape.
Difficulty: thin walls and large 400 mm diameter outer circle cause easy deformation during processing.
Without reliable deformation control, substandard products easily occur, making deformation hard to manage during molding.
Proper tooling and equipment control workpiece deformation, ensuring qualified products.
Tooling and batch size determine production mode, especially for large quantities.
For large quantities, consider specialized tooling with pneumatic or hydraulic independent clamping devices.
With only 60 pieces, economic factors allow using a simple fixture set to meet processing needs.
Processes
Ageing treatment
First, quality check the incoming materials, then treat them with aging.
Machining with lathe
Choose YG3X blade, clamp 8 mm hole, 27 mm workpiece extension, clamp both ends for parallelism to aid machining center setup.
Ensure parallelism of major surfaces for machining center setup; batch process outer and inner holes to 𝚽402 mm.
Batch process inner holes to 𝚽345 mm, 18-20 mm deep, as mounting and positioning reference for CNC and horizontal milling.
With 400 mm outer diameter, keep speed at 180–250 r/min, use coolant to prevent tool impact, heating, and deformation.
Machining center machining shape
Front milling by machining center, flat end located by turning, clamp 𝚽345 mm inner circle with 400 mm chuck, expose 25–26 mm.
The inner cavity contour, thickness, rough machining with a 𝚽12 mm end mill, and semi-finish machining with a 𝚽10 mm tool expose 25–26 mm of the workpiece.
Use a 𝚽10 mm tool for semi-fine machining, and a 𝚽5 mm tool for machining the inner groove.
Workers drill, tap, and finish four lug screw holes per drawings, completing the entire batch.
Processing of small holes in circumferential wall
Use X6142 horizontal mill with rotary table and 400 chuck to clamp inner circle, center outer circle, and machine 12 holes on the wall.
Operators process the holes in the sequence of center punching, drilling, and deburring. The entire batch completes this process.
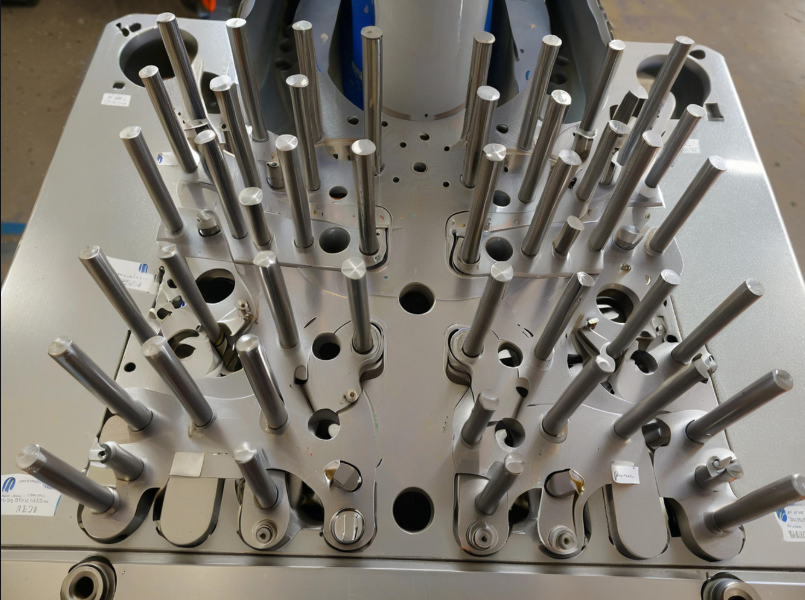
Fixture Design
Fixture design uses a single aluminum plate with fixed outer parts and movable inner parts supporting the workpiece.
The x and y axes control the workpiece freedom horizontally, and the worktable (z-axis) controls it vertically.
The key underneath the inner movable part controls the degree of freedom around the z-axis.
Fixture Making
Operators use a machining center to make a workholding fixture to facilitate the machining of the reverse side of the workpiece.
Prepare a 450 mm x 430 mm aluminum plate with a thickness of 25 mm, then machine the 6 countersunk screw holes shown in Fig. 3.
Operators should fix the 6 countersunk screw holes shown in Fig. 3 to the T-slot of the operating table by laying a few sheets of A4 paper flat.
The main purpose of this detail is to prevent the tool from milling into the table surface, and at the same time reduce the trouble of finding the parallel riffle iron.
Cut the center keyway and inner circle with a grooving cutter to split the center for Clamping Fixture 2.
")
Fix center part with nut and pressure plate, then mill mounting position using grooving and profile milling, keeping a 0.1mm gap to the workpiece.
Ensure that there is a clearance of 0.1 mm from the workpiece and that the depth is milled through. The toolpath is shown in Figure 4.

Center section cut in half for fixture 2, with a 16 mm key milled to fit center T-slot at 0.1 mm clearance, restricting fixture 2 to x-axis movement.
This allows Fixture 2 to slide back and forth in the x-axis direction only.
This limits the freedom of rotation of Fixture 2 in the horizontal plane, as shown in Figure 5.

Operators clear the corners and drill the holes for fixture 2 on a horizontal milling machine, and then fit fixture 2 with a sprag press.
Operators screw the side parts of the sprags to fixture 2.
Milling the reverse side of the workpiece on the machining center with the manufactured fixture.
After front positioning, tighten wedge screws, flatten workpiece, check surface flatness;
then rough (0.3 mm allowance) and finish reverse side machining. Use CMM to detect and mark deformation.
If there is, you can mark the deformation position and deformation value.
Check deformation to decide on correction; if none, proceed with final sizing.
To minimize cutting force deformation, use circular profile milling with smooth, multi-layer radial passes.
In order to make no residue on the dry surface, the cheat method is adopted (e.g. 𝚽11.5 mm cutter is used in the calculation, but 𝚽12 mm cutter is actually installed).
Use new end mill with coolant, spindle speed 8,000 r/min, feed 400 mm/min to reduce roughness and enable finishing.
The surface roughness will be reduced and the surface quality will be improved when finishing the flat surface.
Clamping process
Chamfer blunt sharp edges, deburring.
Inspection and control of machining process
Machining requires essential size and accuracy checks using professional inspection tools.
Need to use professional inspection tools and gauges to complete.
Use micrometer to check the upper surface before machining reverse, and indirectly measure whether the work is mounted flat or not.
Control of deformation
Use widened soft claws for inner hole support, converting point contact to surface contact to prevent deformation and dimensional errors.
Process reverse side with a fixture matching the workpiece outer circle, easing clamping and minimizing deformation.
Aluminum alloy billet stress release during machining causes deformation.
To avoid residual stress, use heat aging at ~190℃ for half a day, then air-cool, instead of time-consuming natural aging.
This can avoid the release of residual stresses during processing, thus avoiding the phenomenon of workpiece deformation.
In reverse plane milling, use reasonable parameters to reduce cutting force: smaller axial depth and larger radial depth of cut.
Select a larger lateral radial depth of cut, when conditions permit can be greater than the radius of the tool.
In the spindle and milling cutter speed allows, as far as possible, choose a larger cutting speed.
Thin-walled part deformation is influenced by cutting parameters, tool path, vibration, and cooling.
Tool paths should minimize force on the weakest workpiece areas using symmetric or stepped processing.
Use emulsified aluminum alloy cutting fluid to reduce deformation, protect tools, and extend tool life.
Conclusion
Thin-walled part milling is challenging but can be solved with a proper machining process.
By analyzing part features and batch size, use existing equipment to produce targeted fixtures for faster, accurate processing.
Avoid excessive cutting force and heat to prevent deformation, ensure accuracy, and boost enterprise benefits.