Demand for signal shielding boxes is rising in communications, AI, and electronic technology industries.
Trial production’s complex cavities, large allowance, and low rigidity caused tool vibration, uneven cuts, instability, deformation, and high scrap rates.
We optimized the process and tooling to meet accuracy and surface needs while limiting deformation, improving quality and efficiency.
Using a specific shielding box model, we analyzed trial production issues, adjusted processes, and achieved first-cut success with improved efficiency.
Part Structure Analysis
The shielding box (Fig. 1) is an aluminum alloy cavity part measuring 169.5 × 166 × 12 mm.
The machining process removes most material, leaving thin ribs and walls (2 mm radius, 1 mm thick) with irregular holes needing high precision.

Process Analysis
Designers divide the shielding box housing into two parts: the box body and the box cover, and secure them together via elongated grooves and convex circuit boards.
Box body flanges and box cover grooves ensure a tight fit.
The contact surface between the shielding box body and the PCB board must be flat and free of burrs.
Technicians must coat the solder pads on both sides with a solder mask and clearly mark the white silk-screen lines.
The dimensions and positions of the locating holes must be precise.
These requirements aim to ensure the precise installation and secure fixation of the shielding box body.
Based on the shielding box’s structure and processing needs, engineers choose a vertical machining center.
For complex multi-step machining, minimize part clamping to improve positioning accuracy.
Table 1 shows the shielding box process, ensuring rigidity, stress relief, less deformation, and higher yield.

Clamping Methods and Processing Challenges
Positioning and clamping affect later steps;
Tolerance errors reduce flatness, perpendicularity, and hole accuracy.
Due to company conditions, costs, and CNC suitability, engineers exclude suction cups from clamping.
The processing challenges of the part are as follows.
- Outline and planar machining use a φ20 mm face mill at 4000 rpm, 1000 mm/min feed, ±0.1 mm tolerance.
Machining the first step to the tolerance limit makes contour tolerance hard to maintain after repeated clamping.
To improve repeat positioning, keep the first-step machining tolerance within 0.02–0.03 mm.
- During trials, operators first mill the inner cavity, then the opposite-face notches.
When machining opposite-face notches, the clamping plate contacts only 1 mm of the surface.
If the clamping force is too high, it may cause stress deformation and damage to the part;
If the clamping force is too low, the part may shift during milling.
We recommend processing both sides first, mounting the part on an angle iron, and clamping with a plate.
Inclined surfaces make center drilling ineffective; drill holes at both ends, then mill R1mm internal notches.
Use a φ6mm end mill for roughing and a φ2mm end mill for finishing to improve efficiency.
Rough machining leaves excess material; multi-layer cuts at 4000 rpm and 300 mm/min ensure smooth finishing.
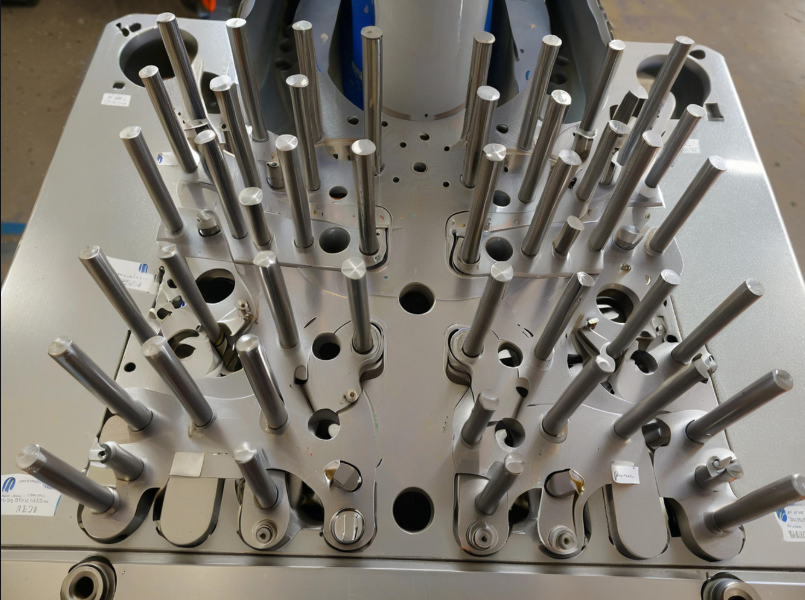
Figure 2 shows side wall clamping; Figure 3 shows inner cavity fixture clamping.

Rough mill internal cavity at notch step with 0.2 mm allowance using φ10 mm end mill, 2 mm depth, 75% step, 4000 rpm, 500 mm/min feed.

After machining with these parameters, we found several issues.
Disorganized tool path caused uneven bottom, poor finish, vibration marks, and irregular surfaces.
When we released the clamping plate, the part exhibited irregular stress deformation.
Optimization of Internal Cavity Milling Process
To address issues in the original cavity milling, engineers implemented these optimizations.
- We add a plastic sheet between the plate and workpiece to improve clamping and prevent damage.
- We replaced the original φ10mm end mill with a φ8mm end mill.
Engineers raised spindle speed to 5000 rpm and feed rate to 800 mm/min for better efficiency and precision.
- Engineers adopted a cutting strategy with gradually decreasing depth as the process progresses.
As machining layers increase, cutting speed rises to maximize tool use early and ensure final accuracy.
Operators adjust intermediate layer depths during rough milling, excluding the final layer.
The final layer keeps a 0.2 mm allowance in one pass for uniformity, then finishes with a φ4 mm end mill.
- For difficult corners, rough machining reduces allowance to ease finishing with a φ4mm end mill.
Improve bottom and corner unevenness and vibration marks to ensure overall part quality.
- Position nozzles for multi-angle coverage to optimize cutting fluid and eliminate heat blind spots.
Precisely control coolant flow and velocity to quickly remove heat without disrupting machining stability.
Optimize to ensure stable machining, better quality, and fewer defects from thermal and stress deformation.
Optimizing clamping, tool paths, cutting, and cooling solves challenges in cavity milling.
Cutting Parameters and Programming Strategies
To facilitate programming, engineers first draw a process flowchart, listing each step of the machining process.
Keep allowance uniform during roughing to stabilize load, reduce tool changes, and maintain material removal.
Table 2 lists tool specs and cutting parameters for machining steps based on workpiece dimensions.
Mastercam programs milling; CAM sim reduces corner vibration by choosing 2D dynamic milling for optimal paths.
Figure 4 shows Mastercam’s 2D dynamic milling path for corners, improving stability and smoothness.

Engineers select climb milling to minimize tool path and idle time, improving efficiency.
To facilitate chip removal and avoid sudden changes in cutting force, engineers adopt Z-axis contour layer milling.
Engineers divide the workpiece into several layers, and machine each layer sequentially from top to bottom.
After machining all areas of the part in each layer, engineers process the next layer.
Figure 5 shows the toolpath for the layer-based cutting parameter settings.
Each layer uses a spiral feed, combined with a rounded toolpath without sharp corners.
Uniform depth layering and spiral feed improve tool stability, reduce wear, and extend life; see inner cavity feed in Figure 6.


The “Micro Lift” sets the tool’s lift distance from the workpiece after machining; operators use the default value.
The “retraction feed rate” is the tool’s non-cutting retraction speed; increasing it boosts efficiency.
Therefore, operators generally find it more reasonable to select a speed greater than that during cutting.
The micro-retraction parameter settings are shown in Figure 7.

When machining a 2mm reverse flat surface, the operator uses a φ32mm face mill at 5000 rpm and 800 mm/min feed.
The flat surface vibrates, causing unevenness; a single milling pass cannot ensure flatness, resulting in vibration marks.
A 0.02mm shallower insert block reduces vibration by ensuring full contact and an Ra=1.6μm finish.
Machine tool milling processing is shown in Figure 8.

Conclusion
The shielding box has 1 mm thin walls prone to deformation and cracking from cutting force changes.
Design clamping to align reference points and preserve surface quality; arrange sequence properly.
Use a torque wrench and ensure even clamping force to prevent deformation or cracking.
Proper clamping improves workpiece stability and rigidity, reducing deformation.
With suitable tools and Mastercam 2D dynamic milling, optimize paths, raise spindle speed and feed, and reduce cutting to minimize deformation.