Machining many thin-walled sleeve parts in daily production is difficult due to their high precision requirements, tendency to deform, and structural limitations of the center hole.
The tappet converts camshaft rotation into vertical motion to control valve timing, ensuring proper diesel engine operation.
One end of the tappet has a roller and roller pin, and the spherical surface of the other end fits the spherical surface of the head.
The tappet slides frequently in the guide tube and must precisely position the roller and head for proper camshaft and head seat fit.
The roller must maintain over 95% fit with the camshaft profile to ensure smooth high-speed rolling and prevent misalignment with the tappet.
The tappet’s tight tolerances and deformation make outer circle grinding difficult, causing production bottlenecks.
We need to study precision grinding technology to enhance the quality and efficiency of diesel engine tappets.
Technical requirements
Figure 1 shows a certain type of diesel engine tappet structure.
This carburized low-carbon steel part requires a tolerance of 0.03mm, a roughness of Ra 0.5µm, and cylindricity of φ0.03mm, necessitating fine cylindrical grinding.
The roller pin hole and groove require high geometric tolerance, so technicians must finish machine the outer circle.

1-Machined outer circle;2-Bore cam;3-Stop port
Difficult to analyze
Figure 1 illustrates a thin-walled precision part with a 1.8:1 groove ratio, which forms a weak cantilever prone to deformation under clamping.
The other end is a thin-walled blind hole, hard to clamp and prone to deformation.
Because the part’s structure limits the addition of a chuck, grinding the outer circle as a whole requires finding a way for the machine tool to drive the part’s rotation.
Fixture program design
Based on the part’s structure and requirements, two cylindrical grinding methods are proposed.
Program 1
Operators perform the grinding process on the cylindrical grinding machine MG1432 and design tooling for two-center positioning.
We finish grind size D1 to H7 tolerance using an expandable mandrel. Lock nut 1 tightens the mandrel to expand sleeve 2 for precise centering and clamping.
We mill a flat on the shaft’s outer circle to fit the chicken center chuck, enabling part rotation during grinding.
At the other end, the part’s roller pin hole is finished to D2.
D2 = D-0.5, with D as the roller pin hole’s final size. Positioning pin 3, designed as H7/g6 small gap fit, is inserted into D2 for locating.
Positioning pin 3 fits tie rod 5’s H7/g6 hole. Tighten nut 4 to clamp parts.
Drill B2.5/8 center hole on tie rod end. Ensure radial runout ≤0.05mm before tightening nut for machining.

1-Lock nut ;2-Expansion sleeve ;3-Positioning pin
4-Pressure nut ;5-Tie rod

Option 2
Figure 4 shows two-center positioning and grinding on MG1432. Finish part stop size D1 to H7 tolerance using positioning mandrel 1.
To prevent deformation, select clamping force direction and gravity point carefully.
Positioning mandrel and stop D1 with the selection of H7/g6 small gap fit, used to locate.
Design hook head pressure plate 2 to press the part bore, and tighten nut on fixture 3 to secure the positioning fixture and part together.
Mark a line on the hook head lever end to help the operator confirm its direction.
At the same time, the outer circle of the centering mandrel is milled flat to facilitate the mounting of the cock collet.
Chamfer oil hole D3 (1mm × 60°) at the part’s end (Figure 1). Ensure radial runout ≤ 0.03mm and coaxiality ≤ φ0.05mm before chamfering and fine grinding outer circle d.
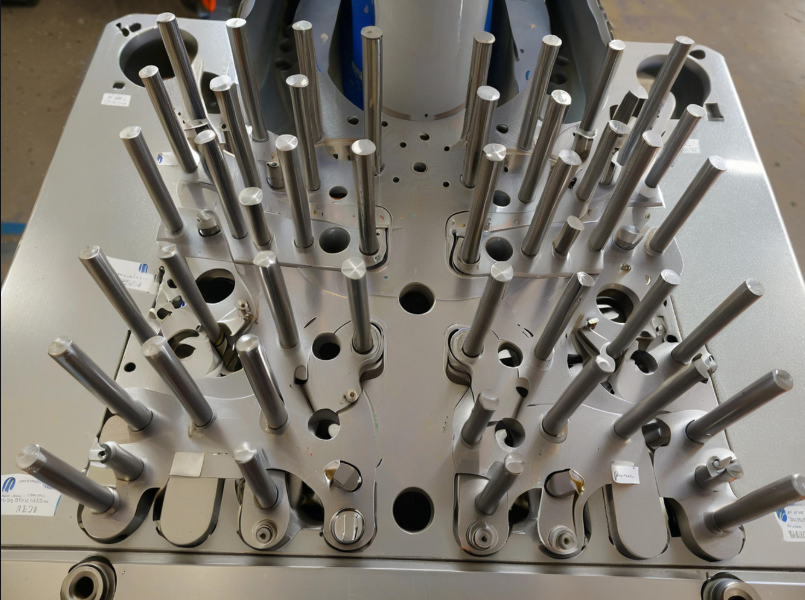
The grinding jig in kind is shown in Figure 5.

1-Positioning mandrel; 2-Hook head plate; 3-Nut
4-Extension center

Effect verification
Verification of the above two programs through processing. The effect is as follows.
Program 1 suffers from clamping deformation, resulting in a 68% pass rate and a 30-minute processing time per part.
Program 2 features fast, easy fixturing with low clamping force, no deformation, a 95% pass rate, 5% overshoot without deformation, and 15 minutes per part.
Comparison shows Program 2 yields less deformation, higher qualification, and greater efficiency, ideal for mass production.
Conclusion
This paper proposes grinding fixture designs to reduce deformation and clamping issues in thin-walled parts, improving machining quality and efficiency.


