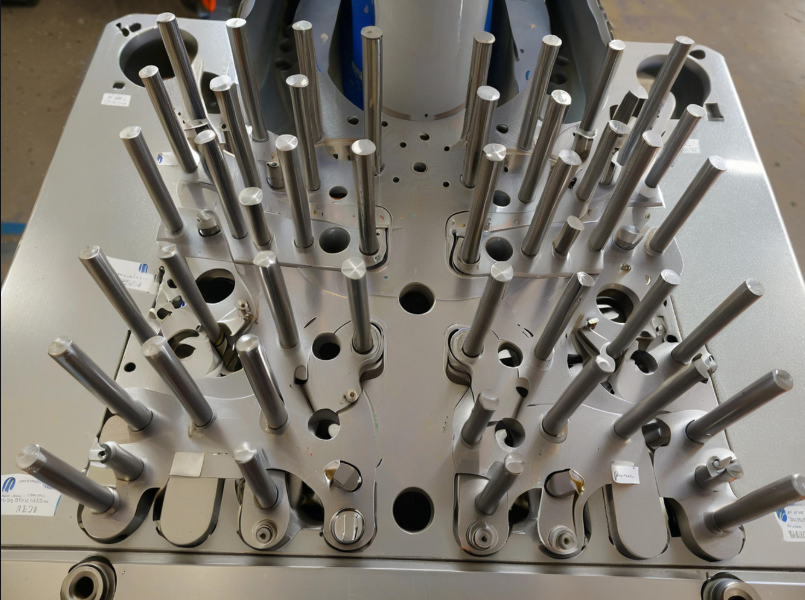
The aviation industry widely adopts high-speed cutting technology to improve efficiency, reduce costs, and ensure quality.
Aircraft parts, especially titanium alloys, have complex structures with high strength and hardness, causing tool wear during machining.
Engineers select high-speed cutting tools to shorten time, reduce force and deformation, and improve accuracy in titanium alloy machining.
Overview of high-speed cutting tools
Engineers use high-speed cutting tools as special tools in the high-speed cutting process.
As the core element of high-speed cutting technology, the performance of the tool will directly affect the processing effect.
High-speed cutting tools must meet high-speed rotation demands, adapting to fast movement, large feed, and high speed.
Manufacturers mainly use diamond, CBN, PCD, ceramic, and coated tools as high-speed cutting tools based on different materials.
High-speed cutting tools in aviation complex parts processing application strategy
Processing of complex parts in the overall wall plate
As a key aircraft part, the wall plate’s quality directly impacts flight safety, fuel efficiency, and performance.
Its complex, thin-walled structure with slotted cavities and reinforcements challenges machining.
Traditional cutting tools reduce efficiency and cause part deformation when machining airplane wall plates.
High-speed milling tools reduce deformation and errors, dissipate heat, ensure smooth, low-vibration cutting, and improve surface quality.
Using carbide tools for roughing and PCD tools for finishing enables efficient production while reducing costs.
Processing of complex beam structure parts
Aircraft beams, key load-bearing parts with complex structures and tight tolerances, often use titanium alloy, demanding high tool and process performance.
TiAlN-coated carbide cutters offer high hardness and wear resistance, ideal for such parts.
TiAlN-coated carbide cutters meet beam accuracy requirements and shorten machining time.
For titanium alloy beams, high-speed milling cutters with optimized depth and feed stabilize cutting and reduce tool wear.
Processing of complex parts in turbine blades
Manufacturers make turbine blades from high-temperature alloys that demand precise size and surface quality and challenge processing.
Manufacturers use high-hardness cutters to endure heat and pressure in turbine blade machining.
The high-speed milling cutter cuts turbine blades accurately, reduces vibration and deformation, ensures smooth surfaces, and improves wing accuracy.
To meet turbine blade precision, improve high-speed milling cutter performance by designing geometric angles and cutter body structure.
The helix angle in high-speed milling cutter design speeds chip discharge, improves accuracy, and protects the cutting edge.
Complex parts processing in the compressor fan
Aircraft engine compressor fans use lightweight, high-strength titanium alloy, demanding high-performance milling cutters.
A small-edge long-rod design prevents deflection during high-speed rotation, enabling accurate cutting of complex pressurized air fan parts.
Titanium alloy machining causes stress; special cutter designs balance cutting forces and lower failure.
Application test design
Test material
In this paper, we select a part of the Air China C919 airliner as a specimen, with dimensions of 75 mm × 54 mm × 15 mm.
We use TC4 titanium alloy in the test, which is an α+β type two-phase titanium alloy composed of Ti-6Al-4V.
The advantages of this titanium alloy include high strength, good fracture toughness, high hardenability, and wide range of forging temperature.
Crankshafts and compressor disks of aero-engines mostly use TC4 titanium alloy semi-finished products, such as forgings and rods.
Heat treatment adjusts the strength, toughness, and plasticity of TC4 alloys and enables various welding forms.
Table 1 shows the material properties of TC4 titanium alloy.

In the parts on the processing of 3 holes (size diameter of 3mm), its main role is to use the screws in the force gauge to fix the TC4 test piece.
Selection of high-speed milling tools
Figure 1 shows the tool used for the test. Before high-speed milling, select the milling plane and the periphery of the tool parameters as Table 2 shows.

(a) Tool a; (b) Tool b

According to Table 2, the diameter of cutter a is 6mm and the diameter of cutter b is 8mm, both of which belong to solid carbide end mill.
Tools A and B share the same axial and radial forward angles, tip chamfer, chamfer width, face contact diameter, and effective cutting edges.
Test Program
The HARTING CNC center mills the TC4 titanium alloy, and the Kistler three-component dynamometer measures the milling force.
Three M3 screws fix the TC4 specimen on the Kistler dynamometer, and a fixture clamps the dynamometer to the CNC milling center.
Test procedure
We carried out step milling tests on a TC4 alloy specimen during the planar milling process.
We carry out the high-speed milling test from deep to shallow on one side of the titanium alloy specimen.
In hole milling, SG-ESS powder drill drills the bottom hole, then tool A mills stepwise with axial feed, performing high-speed milling from shallow to deep.
Analysis of test results
Data analysis of the results of milling plane of tool a
High-speed milling surface topography accurately reflects machining stability and tool quality.
This paper observes and analyzes the collected milling topography with the help of tungsten filament scanning electron microscope (model S-3400II).
During high-speed milling, tool a’s rotation and translation create cutting-in, intermediate, and cutting-out areas on the specimen surface (Fig. 2).
Detailed observation of milling morphology reveals tool force, wear, and material removal, providing a basis to optimize high-speed milling parameters.

Measurement of surface roughness
The surface roughness of the specimen after high-speed milling is measured by JB-5C Roughness Profiler.
Each test group measures three times along the tool feed in the middle 5mm; the average yields final roughness.
The influence of high-speed milling parameters on the surface roughness of the specimen is shown in Figure 3.
Tests 3, 5, 6, and 9 show higher surface roughness Ra values, with group 3 having the highest at 4.15μm.
Data analysis shows that milling TC4 titanium alloy with tools a and b increases surface roughness as milling depth grows.
Increasing milling depth raises cutting force, causing stronger tool vibration and more machining marks, which increase surface roughness.
Comparison before and after genetic algorithm optimization
Increase the spindle speed to 1000r/min, increase the cutting width by 2mm, increase the cutting depth by 2mm, and reduce the feed per tooth by 0.04mm.
Observation shows that increasing cutting speed raises the shear angle but decreases the cutting deformation coefficient in titanium alloy milling.
High-speed milling prevents titanium alloy deformation, reduces friction between coated tool and chip, and lowers heat generation.

Genetic algorithms optimize milling parameters to improve efficiency, quality, and tool life.
In this paper, genetic algorithm is applied to optimize the milling parameters.
Using the surface quality test platform, we tested the TC4 specimen’s surface before and after genetic algorithm optimization; results appear in Fig. 4.
The optimization of genetic algorithm can make the setting of milling parameters reasonable and more effective.
And the surface roughness of the titanium alloy structure is obviously reduced, and the surface roughness is also reduced from the original 1.126μm to 0.838μm.
After optimization, the TC4 specimen’s tool path spacing and texture height significantly decrease.

Effect on tool wear
Use suitable tool parameters and kerosene cooling to mill TC4 alloy with a coated cutter in 150 tests over 43.8 minutes; 450,000 tons of steel rolled.
The steel rolled was 450,000 t. The assessment included control accuracy stability, equipment operation reliability, frequency of failure and other indicators.
Control accuracy assessment shows rolling force, speed, and tension fluctuate within set limits without deterioration.
The reliability of equipment operation is reflected in the low failure rate, and the average trouble-free operation time is extended by 2.5 times.
The coordination of the system components is good, and there is no coordination failure.
Analyzing vibration, temperature, and wear confirms the system remains healthy.
The control system software runs stably without program crash or data loss.
The system has strong anti-interference ability and maintains stable operation under fluctuating working conditions.
The degree of automation of the production process has been improved, and the frequency of operator intervention has been significantly reduced.
The system maintenance workload was reduced, and the consumption of spare parts decreased by 36%.
Through the system stability assessment, the effect of optimization measures is verified to be durable and reliable.
The evaluation uses statistical methods and an index database to support further optimization.
Conclusion
Optimize steel rolling automation by improving system structure and control parameters with advanced strategies to enhance overall performance.
The optimized system performs well in speed stability, force control, and tension response.
Test data show significant improvements in quality, efficiency, and reliability.
Long-term operation assessment to verify the optimization program has significant engineering applications.
Future research will focus on improving intelligent control algorithms and multi-system co-optimization to enhance the rolling process.
FAQ:
High-speed cutting improves machining efficiency, reduces production costs, and ensures the high precision and surface quality needed for complex aircraft components made from materials like titanium alloys.
Titanium alloys have high strength and hardness, making them difficult to machine. They cause significant tool wear, generate high heat, and are prone to deformation if not processed correctly.
High-speed cutting tools are specialized tools designed for high rotational speeds, fast feed rates, and large cutting depths. They must withstand intense heat and vibration while maintaining precision and durability.
High-speed cutting tools are typically made from diamond, CBN (cubic boron nitride), PCD (polycrystalline diamond), ceramic, or coated carbide, depending on the workpiece material and cutting conditions.
For thin-walled wall plates, high-speed milling minimizes deformation and improves surface finish. For complex titanium alloy beams, coated carbide cutters reduce tool wear and meet tight tolerance requirements.
Manufacturers use high-speed milling cutters with optimized helix angles to improve chip discharge, reduce vibration, and ensure dimensional accuracy and surface smoothness in high-temperature alloys.
Titanium alloy compressor fans require long-rod cutters with small edges to prevent deflection. Special tool designs balance cutting forces and reduce machining stress to ensure part accuracy and reliability.
Genetic algorithms optimize milling parameters (spindle speed, cutting depth/width, feed rate) to improve surface quality, reduce tool wear, and increase cutting efficiency in titanium alloy machining.
The optimized milling parameters reduced surface roughness from 1.126 μm to 0.838 μm, improved texture uniformity, and enhanced overall surface quality while maintaining cutting stability.
The optimized system showed stable operation, reduced tool wear, extended trouble-free time, decreased maintenance workload, and improved automation with less operator intervention and spare part consumption.


