The piston pin, a key engine component connecting the piston and rod, endures high-speed sliding; thus, lubricating oil holes are designed for it.
Designers use rounded corners, chamfers, and smooth finishes on the piston pin hole and outer surface to ensure lubricant flow.
The piston, connecting rod, and piston pin move with high-speed sliding.
Improper corner or chamfer finishing on the piston pin hole and outer surface by technicians causes lubrication issues, stress, and engine malfunction.
The transition fillet between the piston pin outer circle and oil hole is external, easily processed by forming cutters or drills on machining centers.
Its accessible position and simple tool requirements allow chamfering with common methods.
Technical Requirements
Figure 1 shows an engine piston pin made of alloy steel, carburized and quenched to 60HRC+.
High hardness makes fillet and chamfer machining difficult after quenching.
Workers perform outer circle grinding and chamfering of oil and inner holes before quenching.

Processing difficulties analysis
The piston pin’s D1 bore and D2 oil hole chamfer width L is 80°, with the middle oil hole over 135mm from the end.
Conventional countersinking struggles to locate small bores far from the surface.
Using forming milling cutters for the small-diameter, long oil holes (length-to-diameter ratio 7.3:1) causes tool rigidity issues and vibration.
Development of machining program
Engineers draft the preliminary program based on part structure and challenges.
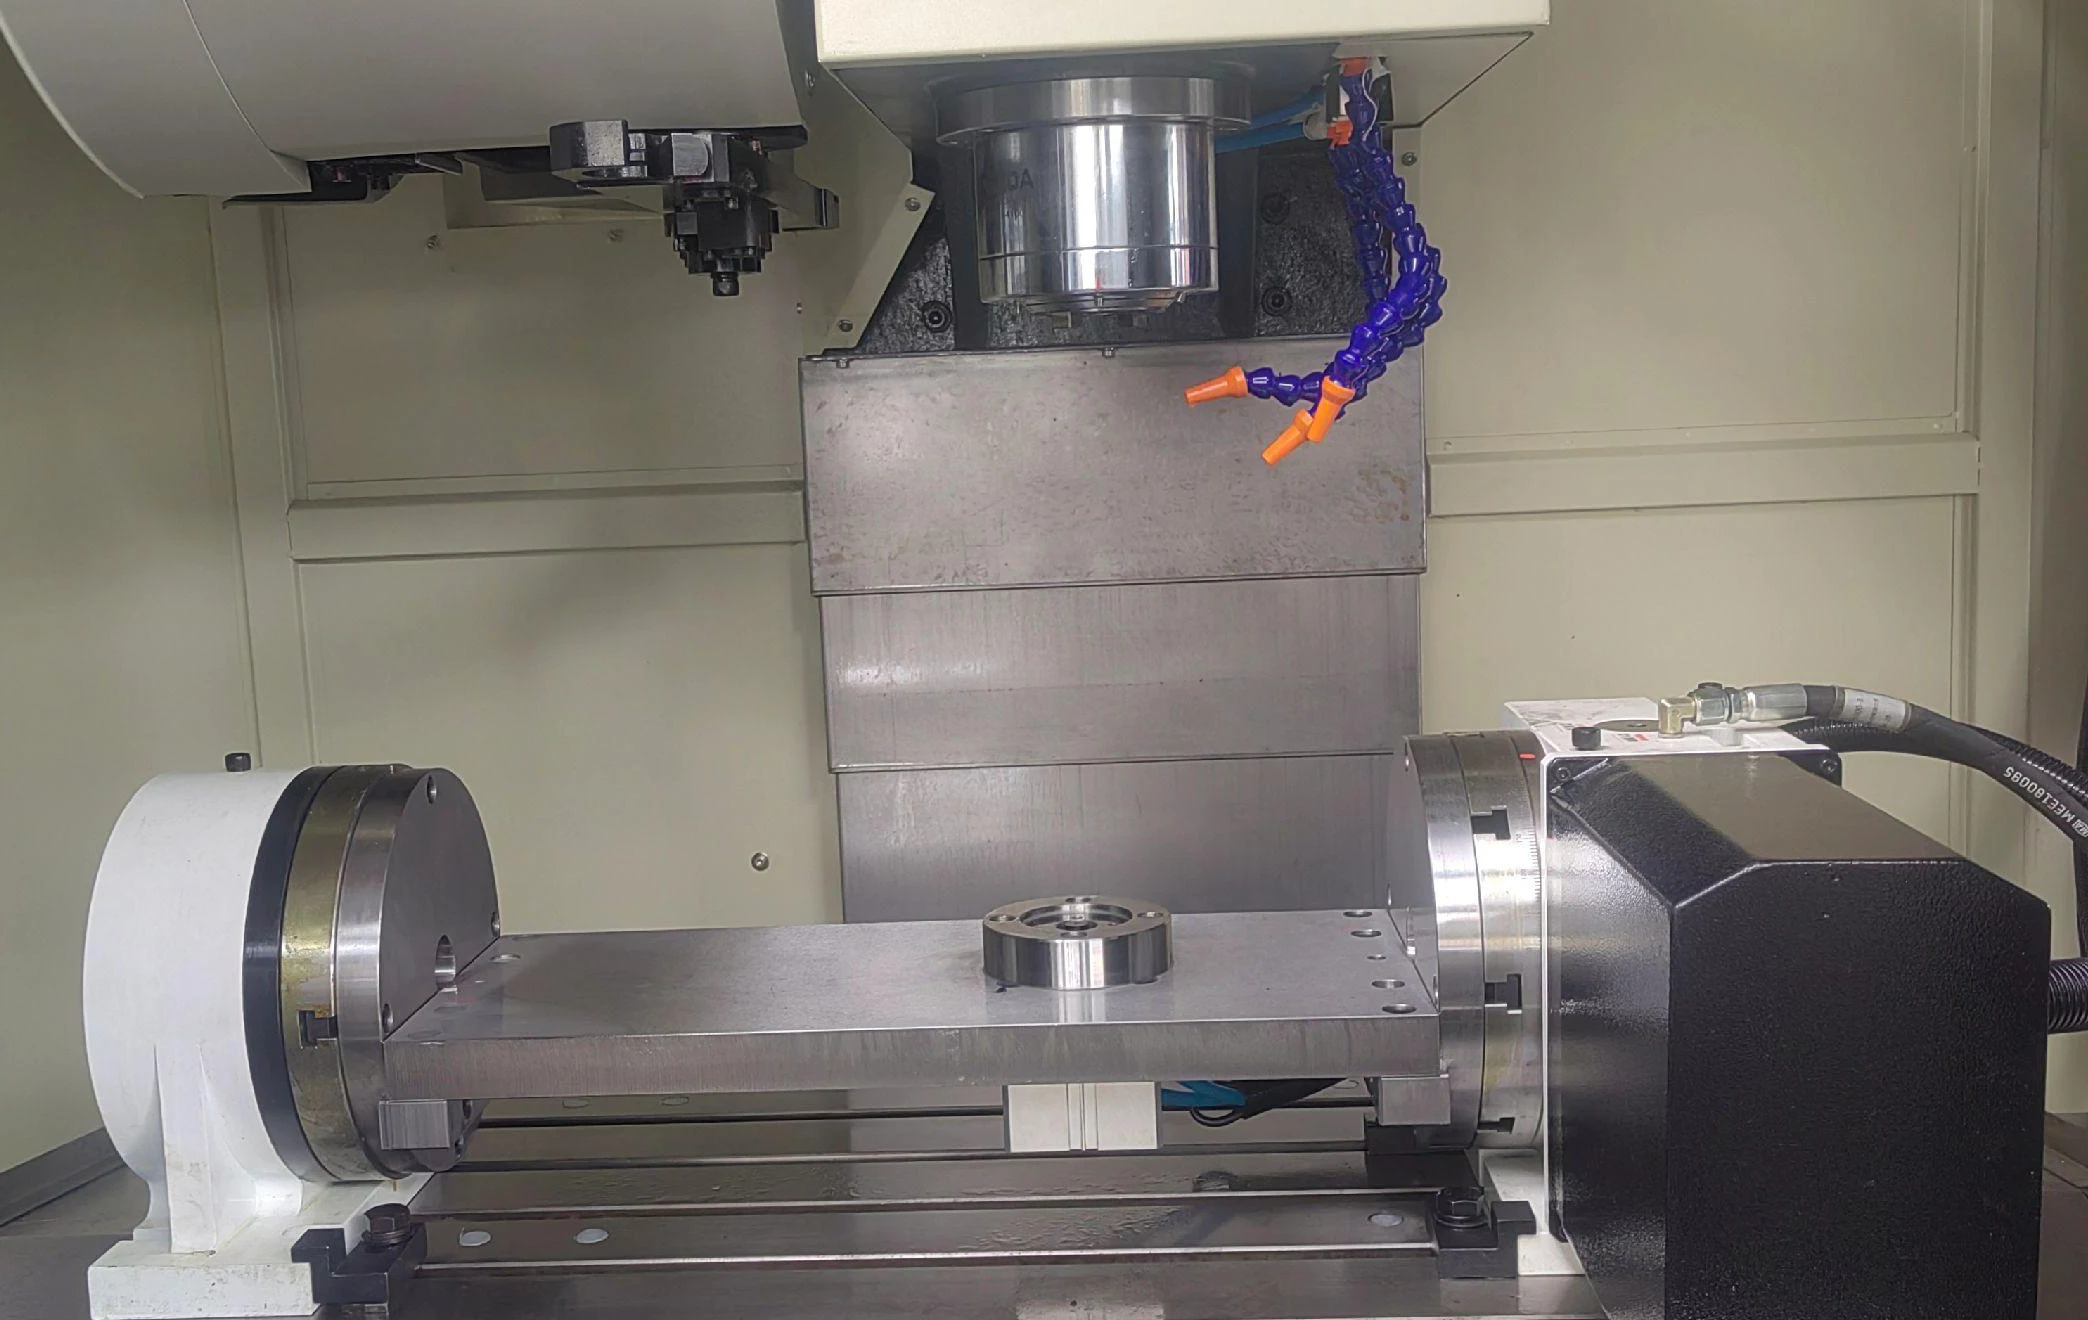
- Operators perform form milling on a vertical machining center.
Before quenching, they grind the d1 outer circle to (d1 + 0.4) mm ±0.03 mm for positioning.
The machine cuts an 80° bore chamfer with a custom cutter.
Technicians set the milling cutter diameter to d2 = D2 – 0.5 mm to chamfer to the D2 lubricant hole depth.
Tool diameter d3 and length L2 meet chamfering requirements.
Forming milling cutter machines piston pin internal chamfer (Fig. 2), with d3 = D2 – 0.5 – 2L tan 40° – 1.5 mm and L2 = (d1 – D1)/2 + 30 mm.

This CNC program chamfers oil holes and bores in one clamping.
Thin cutter bars (14:1) may vibrate and cut poorly;
carbide bars improve rigidity, quality, and efficiency.
This method suits small-batch trials and low investment.
- Fixtures and countersinking drills for chamfering on Z35 machine.
Before quenching, technicians grind the d1 cylinder to (d1 + 0.4) ± 0.03 mm for later positioning.
Operator drills 12 D2 oil holes, then positions part axially on V-block 4 with positioning block 5.
Insert pin 6 for radial positioning; clamp part with nut 3.
One jig end has tool handling mechanism 2 with built-in positioning for dual functions.
- Precisely position and clamp the tool for internal chamfering.
- Accurately position the tool to the chamfer hole.
Two-way countersinking and guide bar 1 enable radial positioning.
Chamfer two internal holes in one pass, ensuring angle, shape, and size.
This program uses simple, common equipment for efficient mass production.
Figure 3 shows piston pin chamfering using a special fixture and tool on the drilling machine.

1-guide bar;2-tool delivery mechanism;3-pressure nut
4-V-block;5-Locating block;6-Locating pin
Conclusion
With special fixtures and two-way countersink drilling, the company improved chamfering efficiency and tool positioning for piston pin oil holes.
The selected program employs common equipment, is easy to operate, suits mass production, and serves as a reference for similar parts.
FAQ:
Lubrication oil holes ensure proper oil flow between the piston, connecting rod, and piston pin during high-speed sliding, reducing wear and preventing engine malfunction.
Incorrect chamfering can cause poor lubrication, increased stress concentrations, and even engine failures due to uneven oil distribution and stress buildup.
After carburizing and quenching, the piston pin reaches a hardness of 60HRC+, making post-heat-treatment machining of chamfers and fillets extremely challenging.
Chamfering is done before quenching, while the material is softer. This includes grinding the outer diameter and chamfering both oil holes and internal bores.
Oil holes are small and located deep within the piston pin (over 135 mm from the end), making it hard for standard tools to reach and accurately machine them.
Engineers use a forming milling cutter on a vertical machining center to precisely chamfer oil holes and bores in a single clamping setup, improving efficiency and accuracy
To reduce vibration caused by long, thin cutter bars (14:1 length-to-diameter ratio), technicians use carbide cutter bars, which offer better rigidity and surface quality.
The fixture ensures precise axial and radial positioning of the piston pin and cutting tool, enabling two-way countersinking for accurate, efficient internal chamfering.
This method allows simultaneous chamfering of both internal sides of the oil hole, ensuring consistency in angle, size, and surface finish while reducing cycle time.
Yes. The solution uses common equipment, a simple fixture, and is easy to operate, making it ideal for cost-effective mass production of piston pins.


