
More exhaust manifolds now require cam face holes without prior machining, due to industry development.
Operators perform drilling on CNC equipment due to high hole position requirements.
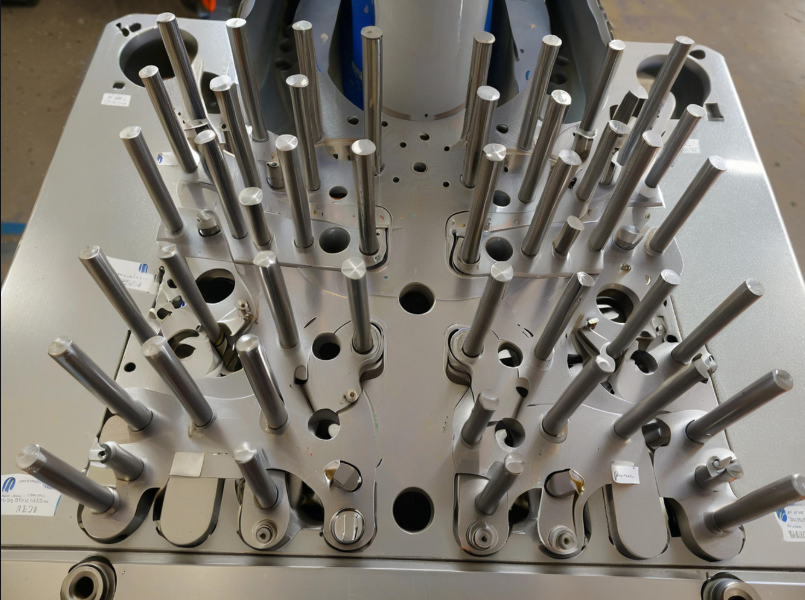
Casting provides a machined-free end face for this series, but cam sizes vary from 150 to 151.6mm.
And CNC machining to take the median tolerance 150.8mm, the size of the program to ensure that the unity of 150.8mm, the workpiece shown in Figure 1.
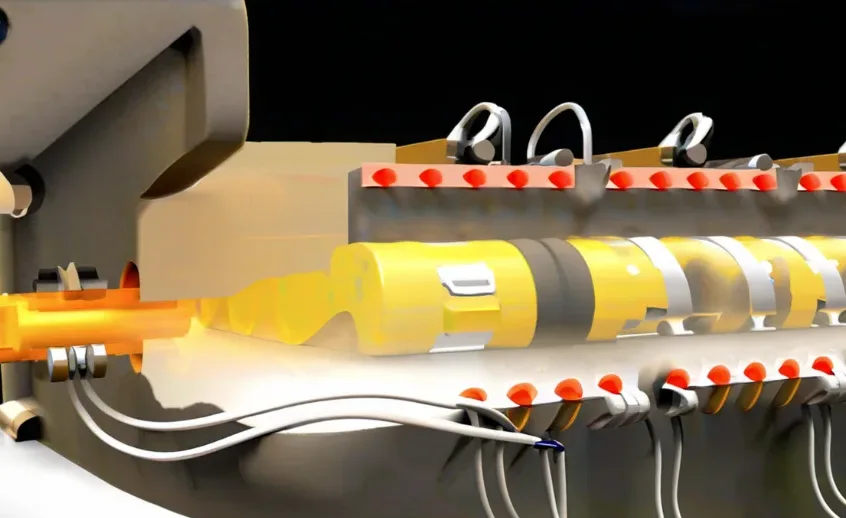
A low set value ensures chamfering but causes deep machining and scrap if camber height exceeds the limit (see Figure 2a).
Undersized blanks can lead to insufficient chamfering (Fig. 2b), causing excess or scrap.
When over 30% of submitted products exceed limits, scrap rates rise, harming host plant demand and costs.
Variations in threaded hole and tapping depths cause a production bottleneck.


a) The height of the cam is greater than the machine set height
b) The chamfering is not in place or is too small.
To solve machining issues, we reviewed the setup and developed a new CNC threading tool.
It suits CNC mass production, enabling automatic tool changes via the toolholder and changer system, with tool selection based on thread size.
Advantages of the technical program
- Ensure consistent thread quality on non-machined product surfaces using CNC machines.
- The device processes various threaded hole diameters by matching corresponding tools, making operation easy.
- The device enables automatic tool change and multi-step machining in one clamp for high efficiency.
Structure design and working principle
Combined with the structure of CNC machine tool shank, the technical device is designed, as shown in Figure 3.

1-Guide sleeve ;2-Spring force adjusting screw;3-Cutting compression spring
4-Chamfering body ;5-Guide pin;6-Chamfering limit screw;7-Locking
8-Drill locking screw;9-Dust cover ;10-Dust cover screw
11-Hole retaining ring;12-One way thrust ball bearing ;13-Shaft retaining ring
14 Deep groove ball bearings ;15-Chamfering drill bits;16-Locating bushings
The device includes a guide sleeve with a compression spring, an adjustment screw, and the main body.
The device body’s upper part has a guide pin 5 that fits the guide sleeve 1’s symmetrical U-shaped groove.
The body of the device is equipped with a chamfering bit 15, a chamfering limit screw 6, a bit locking screw 8 and a locking nut 7;
Positioning sleeve 16 fits the device’s lower end and holds bearings 12, 14, and retaining rings 11, 13.
When assembling, the thrust ball bearing 12 and the retaining ring 13 for the shaft are assembled into the device body in sequence;
The deep groove ball bearing 14 is then fitted into the locating sleeve;
Then fit the deep groove ball bearing 14 and locating sleeve 16 into device body 4, followed by retaining ring 11 and dust cover.
The chamfering drill bit 15 adjusts size via locking screw 8 and limit screw 6, then locks with nut 7.
Insert cutting spring and device into the guide sleeve, then adjust axial force via spring screw for correct chamfering.
During operation, install the device into the CNC toolholder to transfer torque.
First, check the height variation of the product’s threaded hole end face from the fixture.
Then set the tool so that the qualified chamfer of the device tool is ≤ the minimum height of the threaded end face.
Program the machining program according to the requirements of the workpiece.
At minimum cam height, the CNC drives the device to the hole end; contact with the positioning sleeve stops descent to complete chamfering.
Sleeve 16 halts rotation on cam contact to avoid scratches, while the chamfering knife spins on bearings 14 and 12.
With cam height above minimum, spindle moves device to hole end; sleeve stops rotation on contact to prevent scratches.
Driven by the spindle, the chamfering tool spins on bearings 14 and 12 to finish cutting.
If the spindle’s Z value isn’t at the set minimum, it continues descending until it reaches that value.
Spindle force compresses spring 3, raising the device until the sleeve meets the workpiece at minimum Z.
The sleeve ensures consistent chamfer depth by keeping a steady gap with the threaded hole end.
Replacing tool 15 with a drill bit enables precise control of the threaded hole’s drilling depth, ensuring consistency.
Similarly, replacing tool 15 with a tap requires lengthening body 4’s movement in guide sleeve 1 by 2mm (see FIG. 4).
Note: The 2mm is the axial travel of body 4 in guide sleeve 1, based on cam height variance (≥1.5mm), making length ≥6 times the pitch.
Set tapping depth start at ≥2× pitch so the tap enters early under spring 3, preventing servo out-of-step risk.
If surface varies, the tap moves body 4 in guide sleeve 1 to precisely control threading depth.

ChatGPT said:
This CNC device drills and taps threaded holes with consistent depth and chamfering, without machining the end face.
It uses a CNC tool magazine and quick-change holder for automatic tool changes, ideal for versatile, large-scale production.
Conclusion
Optimized design ensures smooth cutting, stable torque transfer, and minimal vibration, meeting machining requirements.
The device cuts fast, clears chips smoothly, and meets all depth, chamfer, and surface roughness specs.
The product ensures stable quality, smooth commissioning, and effective thread processing, meeting expectations.

Solomon Yang is a manufacturing industry professional with extensive experience in electronic, mechanical, and industrial component manufacturing. Having held various positions in American and Taiwanese manufacturing companies, he has developed a comprehensive understanding of manufacturing processes, production management, quality control, and global supply chain operations.
With expertise in business development, sales operations, international trade, customer relationship management, and engineering project support, Solomon bridges technical knowledge with commercial strategy to deliver innovative and cost-effective manufacturing solutions. He is passionate about advanced manufacturing technologies, process improvement, and continuous professional growth, with a strong commitment to creating value for customers and partners worldwide.